Crystallization through precipitation lab
Crystals are solids that form when molecules join in a regular repeating pattern. Crystals mesmerized humans early in our history and served as currency as well as decoration. Today, the jewelry industry relies on precious and semi-precious crystals for rings, pendants, and more; the electronics industry relies on quartz crystals for silicon chips; and the spice industry relies on salt crystals for baking and flavoring.
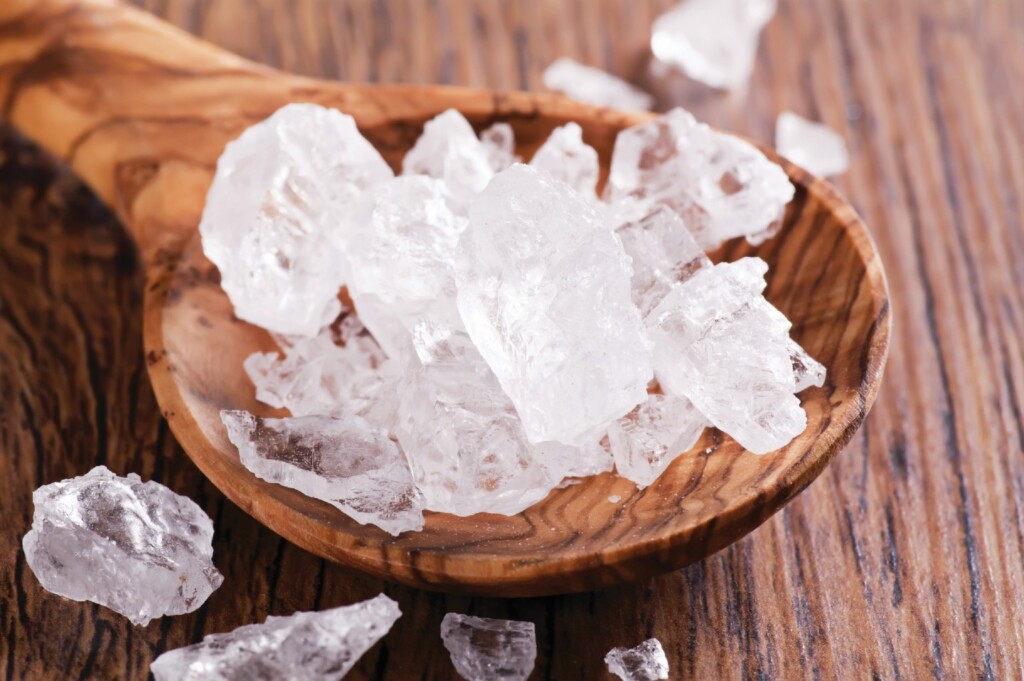
Crystals can be produced easily by evaporation or precipitation. Table salt is often produced by evaporation. Saltwater is contained in a large, shallow pond and the water evaporates leaving the salt crystals. Crystals produced through precipitation require a saturated or super saturated solution of chemical and water. Over time, the crystals “fall out” of solution or precipitate. Rock candy can be made this way.
Introduce your students to crystal growing with this economical and engaging activity. Using low-cost materials, students grow crystals and learn about crystal formation and structure, solutions, precipitation, and safe lab practices. In this activity, you dissolve crystallizing molecules in water and your students create a setup to observe the ordered structure of these crystallizing molecules as they solidify.
Content and Grade level: Physical Science/Chemistry, Grades 6 through 9.
Next Generation Science Standards: Disciplinary Core Idea
PS1.A: Structure and Properties of Matter
Materials needed:
- 250-mL beaker or 9-oz plastic cup (for each group)
- 500-mL beaker
- Coffee stirrer or pencil (for each group)
- Hand lens (for each group)
- Hotplate
- Lab apron
- Lab marker (for each group)
- Pair of forceps
- Piece of nylon or cotton string 15 to 20 cm long (for each group)
- Shallow container or petri dish
- Small piece of masking tape (for each group)
- Rubber gloves
- Safety goggles
- Salt (at least 100 mL)
- Water
Preparation (instructor):
Caution: Review lab safety with your students before they begin work or before you demonstrate the activity. Use caution around hotplates and hot water. When demonstrating this activity, ensure students maintain a safe distance from the work area to avoid injury from accidental splashes or spills.
- Put on the gloves, apron, and goggles.
- Add about 300 mL water to the 500-mL beaker.
- Place the beaker on the hotplate. Adjust the heat to medium and heat the water until it is very hot, but do not let it boil.
- Gradually add salt to the beaker and stir to ensure it all dissolves in the water. Add at least 100 mL salt to the water or as much as will go into solution.
- Use the forceps to remove the beaker from the hotplate, and then pour a small amount of saltwater solution into the shallow container or petri dish. Allow the solution to sit undisturbed for about one hour. Small salt crystals will form in the container. These small crystals will be used as the “seed” crystals for each group.
- Divide your class into groups of 3 to 4 students each.
- Make sure each group has the following materials: a 250-mL beaker or 9-oz plastic cup, a coffee stirrer or pencil, a piece of nylon or cotton string 15 to 20 cm long, and a hand lens.
Procedure (students):
- Obtain a “seed” crystal from your instructor and tie it to one end of the piece of string.
- Tie the other end of the string to the coffee stirrer or pencil.
- Label the beaker or cup with your group’s name using the piece of masking tape and lab marker.
- Place the end of the string with the seed crystal into the salt solution and lay the coffee stirrer or pencil across the mouth of the beaker or cup.
- Place your group’s beaker or cup in a place designated by your instructor. Allow it to sit undisturbed for at least 24 hours.
- After the 24 hours have passed, remove the string from the solution. Use the hand lens to examine the crystalline structures that have formed on the string.
Extensions:
- Examine the effects of cooling on crystal growth. Prepare 2 crystal-growing containers as detailed above. Place one in a refrigerator or container of ice and leave the other exposed to room temperature air. Let them remain undisturbed for 24 hours, and then observe and compare the crystals grown at different temperatures.
- Prepare 2 different crystal-growing solutions using 2 of the chemicals listed below. Use the salt solution preparation procedure, substituting the chemicals in the list for salt. Observe and compare the different types of crystals grown.–Copper sulfate–Magnesium sulfate heptahydrate (Epsom salt)–Potassium aluminum sulfate dodecahydrate (alum)–Potassium sodium tartrate tetrahydrate (Rochelle salt)–Sucrose (sugar) (Procedure note: Make sure the water is boiling when you add the sugar.)
Caution: Some of the chemicals listed above may be harmful if swallowed or inhaled. Do not eat or inhale any of the chemicals used in this activity. Do not lick the crystals or put them in your mouth. Wash your hands after handling chemicals and crystals.
Additional resources: