Teachers always need more space! We need space for students to spread out for group work, space for storage, space for displaying student work, but never is space more of an important consideration than when planning for hands-on lab activities.
There must be adequate room for students to move about safely, enough desk or counter space to set up experiments, and enough materials space to lay out lab materials and equipment safely and conveniently. There are 4 common ways to arrange lab materials to facilitate lab activities so that students get the most benefit from the hands-on experience.
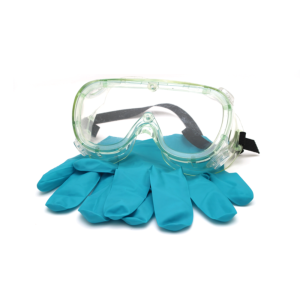
First, the room space and safety basics:
- Keep aisles clear of all clutter.
- Do not block any exit.
- Keep a clear path to all emergency safety equipment.
- Keep desktops/lab tables/counter tops free of clutter.
- Check your chemical hygiene plan or laboratory room standards for the square footage/student space requirements.
Second, how to organize room space for a safe, effective, and engaging student lab experience:
1. Activity Stations
Activity stations are useful room set-ups for many classrooms, not just science. When an activity has multiple parts that can be accomplished in any order and don’t require more than 5–10 minutes per segment, activity stations are a good choice. The teacher does the station set-ups, lays out all the parts and pieces, and includes step-by-step instructions for each segment. Stations are generally set up around the perimeter of the room for easy access and unrestricted movement.
The downside of activity stations is groups of students are moving as a block, several times during the class, requiring close supervision of each activity station directly before or after each move. Microscope activities work well as activity station labs. Microscopes can be set up with the study slide, course focused, and students just need to fine focus to collect data. No time is wasted changing microscope slides or setting up microscopes.

Another use of activity stations is to designate a space for routine lab procedures like weighing substances or getting distilled or deionized water. To set up a permanent weighing station, place balances on a level surface so they can’t be moved. Have a variety of weigh boats in different sizes and materials readily available. Don’t forget a soft, small brush to clean the balance surface after each use.

2. Lab Group Materials Baskets or Table Bags
Materials baskets or resealable bags work well when there are minimal supplies needed. All necessary supplies for the activity are placed in a small basket or resealable bag and placed at every individual lab desk. This technique works well when all the materials are reusable and not consumable. Teacher preparation time is increased because individual lab packs must be made initially. This design minimizes student motion, decreases prep time the day of the activity, and all materials go back in the basket or bag at the end for easy cleanup. Baskets or bags can be reused by multiple classes and shared Lab Group Table Bags among teachers.

Circuit lab materials can be organized this way by preparing bags with bulbs, connecting wire, batteries, etc. The bags can even be stored and used year after year. Many teachers also have “tool kits” for student groups. These may include small balances, rulers, markers, scissors, or calculators—items commonly used in the lab setting.
3. Central Materials Station
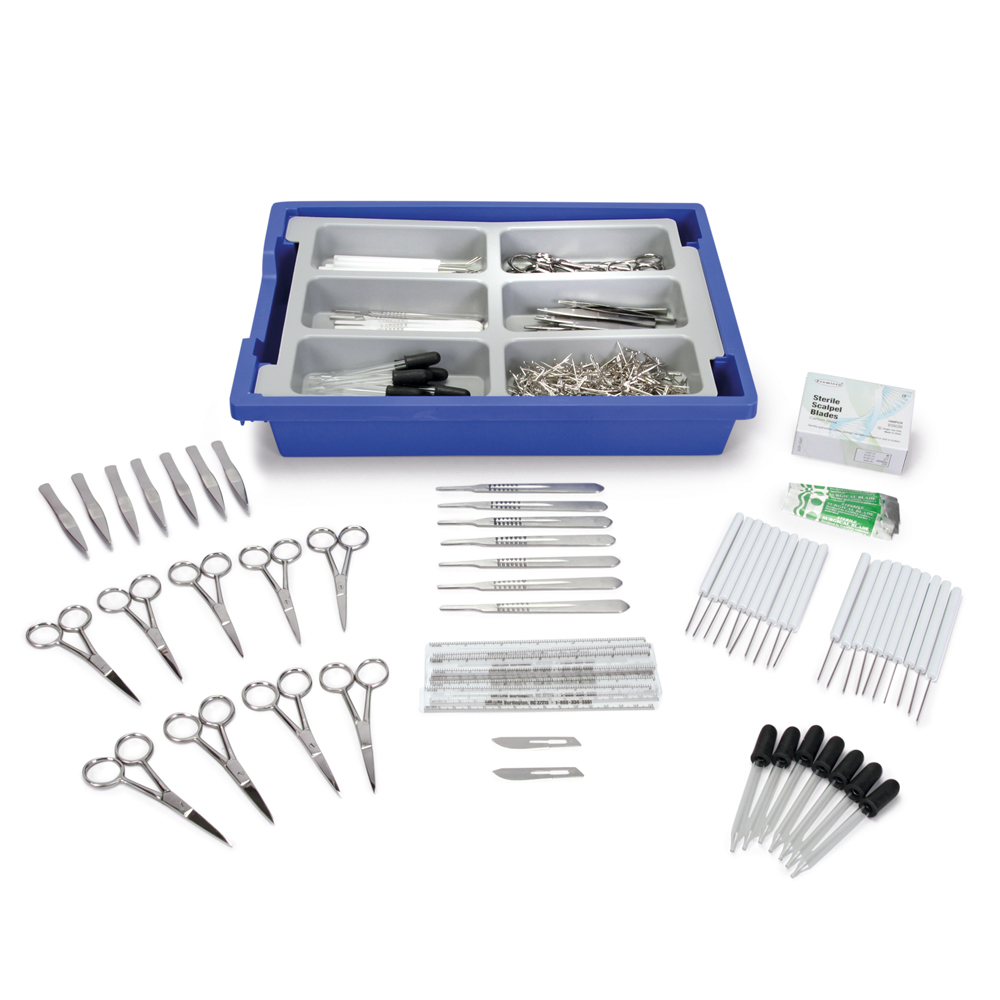
A central materials station requires that students know commonly used lab equipment and what the equipment is used for. A central materials station is a grouping of supplies needed for a lab activity. The group may include glassware, balances, hot plates, microscopes, ring stands, dissecting tools, chemicals, and the like. Students need familiarity with the materials, equipment, and tools to know exactly what to take back to their workstation. Usually, each lab group designates a materials handler to minimize crowding at the materials station. It is important that the central materials station be monitored to ensure that chemicals, glassware, and equipment are not cross-contaminated. Proper waste disposal and cleanup must be communicated to students when using this laboratory design.
This technique works well when students are more independent. Using a lab cart that is prepared earlier with supplies and equipment and then rolled out to a central location for students to access allows easy transition from class to class and provides a way to store supplies for a multiday laboratory. A good example of this is a dissection lab setup. Dissection tools, pans, and pads can be placed on the top shelf of a cart and specimens can be placed on the bottom shelf. At the end of class, cleaned tools and equipment are returned to the cart and specimens are disposed of properly.
4. Teacher-Delivered Materials
Sometimes the safest way to dispense lab materials is for the teacher to do it, group by group. The teacher maintains control over the exact amount of material used and knows that each group or individual got exactly what they needed. This method is helpful when a material or piece of equipment is expensive, in short supply, or may require safe handling. This method minimizes student movement and decreases possible exposure to a hazardous substance.
An example of an appropriate time to use this organization technique is the use of magnesium ribbon. Quality magnesium ribbon is costly. To get good results, magnesium ribbon needs to be free of oxidation prior to the lab. The teacher can clean the ribbon, cut the ribbon to the specified amount, and seal it in a resealable bag. As students are setting up their lab, each group is delivered the correct amount of clean magnesium ribbon—no waste and no steel wool burrs in fingers or left on desktops. This technique requires more prep time but saves time on lab day.

However you decide to organize your space to best suit students’ needs, remember the 6P rule: proper previous planning prevents poor performance—and helps ensure an engaging and instructive lab experience for students.
If you have questions, please contact us at product@carolina.com or visit our website for product details.
Related Resources
7 Ways Carolina Can Support Your NGSS Implementation
Lab Safety: Teacher Responsibilities