3 Explainer Videos
One of the reasons anatomy and physiology are challenging subjects for your students is the enormous amount of new material and information they just have to find a way to memorize. There are also a considerable amount of fundamental techniques to master, and you probably remember how hard it was to get a handle on some of them when you were a student.
In this article, we’re providing short videos that will help you break down some of the trickiest techniques your A&P students will need to tackle in the lab. Most of these techniques will apply to dissection labs that address the nervous system, muscular system, or the other basic body systems you’re planning to cover this semester.
These videos should take a lot of the stress out of the lab experience for your students and should help you keep anatomy and physiology lab safety front and center for your class.
Simplify Tying Down a Preserved Pig Specimen with This Easy-to-Learn Technique
When preparing to study the anatomy and important systems such as the digestive and urogenital systems, securing preserved specimens in the dissecting pan gives many students (and instructors!) trouble! When we demonstrate this alternative technique for instructors, it never fails to wow the audience.
Takeaways and Other Tips for Success
-
Use large rubber bands instead of string.
-
Form a chain by looping one band through the other.
-
Loop one end of the chain around the specimen’s hind ankle.
-
Wrap the rest of the chain under and around the dissecting pan.
-
Loop the other end of the chain around the other hind ankle.
-
Repeat this process with the specimen’s forelimbs.
-
Be sure to double loop the ends of the chain around the forelimb wrists
It won’t take long to master this method for your students, and you’ll be amazed at how much this optimizes the lab experience. Carolina Biological also has Perfect Solution® pigs available for your labs. These safe, formalin-alternative specimens are remarkably true in texture and color, without the traditional overpowering odor. Perfect Solution is another way we’re working to make setup, dissection, and disposal easier for you and impactful for your students.
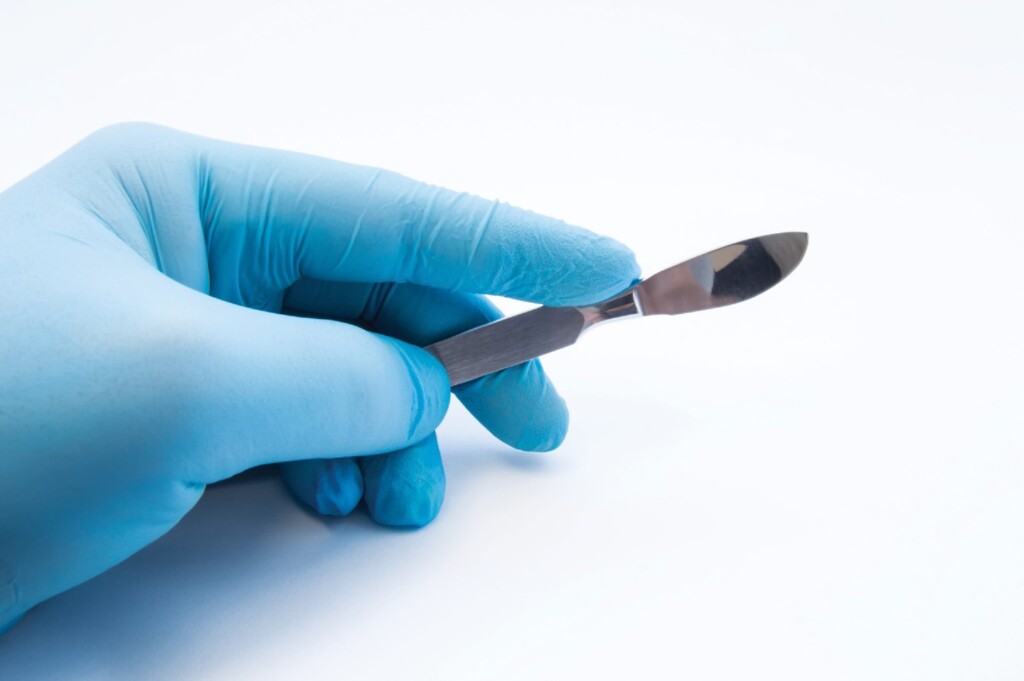
A Safe, Efficient Method to Change Scalpel Blades
Changing scalpel blades can be nerve-racking for some students and a no-brainer for others–and neither extreme promotes good anatomy and physiology lab safety! This foundational skill will come into play during dissection labs exploring body systems such as the respiratory and reproductive systems. Here is a secure, easy-to-follow technique you can teach to your students in just a few minutes.
Takeaways and Other Tips for Success
- Use hemostatic forceps, dissection forceps, or pliers to firmly grip the scalpel blade.
- Lift up on the tail of the blade.
- Slowly push the blade forward until it detaches from the handle.
- Dispose of the used blade appropriately in a designated sharps container.
- Tear the packaging off the tail of the new blade.
- Retain the packaging on the sharp end of the new blade, and grip it there with the forceps.
- Slide the grooved end of the scalpel handle into the slotted opening at the tail of the blade until it locks into place.
Sometimes it’s difficult to remember what it was like to manage basic lab skills like this, so we hope this demonstration makes it easy for you to walk your students through the process. When it’s time to order scalpels, Carolina has high-quality German-made handles that come with No. 22 blades included but are designed to use blades 20—25. We offer price breaks on orders of 12 or more, and your school may have contract pricing with Carolina for an even better price. The easiest way to check is to call or email us for a quote.
How to Easily Make a Wet Mount of Human Cheek Cells
Some students will have a more difficult time with this basic skill than others, but the tips in our video will help them master it with confidence. The real key is in their approach to laying the coverslip on the slide.
Takeaways and Other Tips for Success
-
Before you begin, make sure you have all the necessary materials on hand.
-
Gently scrape the inside of your cheek with the toothpick several times before stirring it in the stain on the slide.
-
Do not drop the coverslip directly onto the slide.
-
Be sure to let the coverslip rest for up to one minute so that the cells will have time to accept the stain.
Take Some More Help with You
Many of the folks on our team at Carolina have been educators or lab managers, so we understand the headaches and frustrations the teachers and administrators face. We want to be more than just a supplier when it’s time to order materials for your class. We built a site with new resources just for you, and we’d like to encourage you to take one of those resources home today: A Survival Guide for A&P Instructors. It’s packed with information, tips, and resources that will take the stress out of planning your labs and ordering equipment, supplies, and consumables. It will also help you stay on track all year long. View the guide online, or download a copy to take with you today.