Muscular System
Muscular System Introduce Muscular System Flex and extend, contract and relax! You may have heard these commands in an exercise
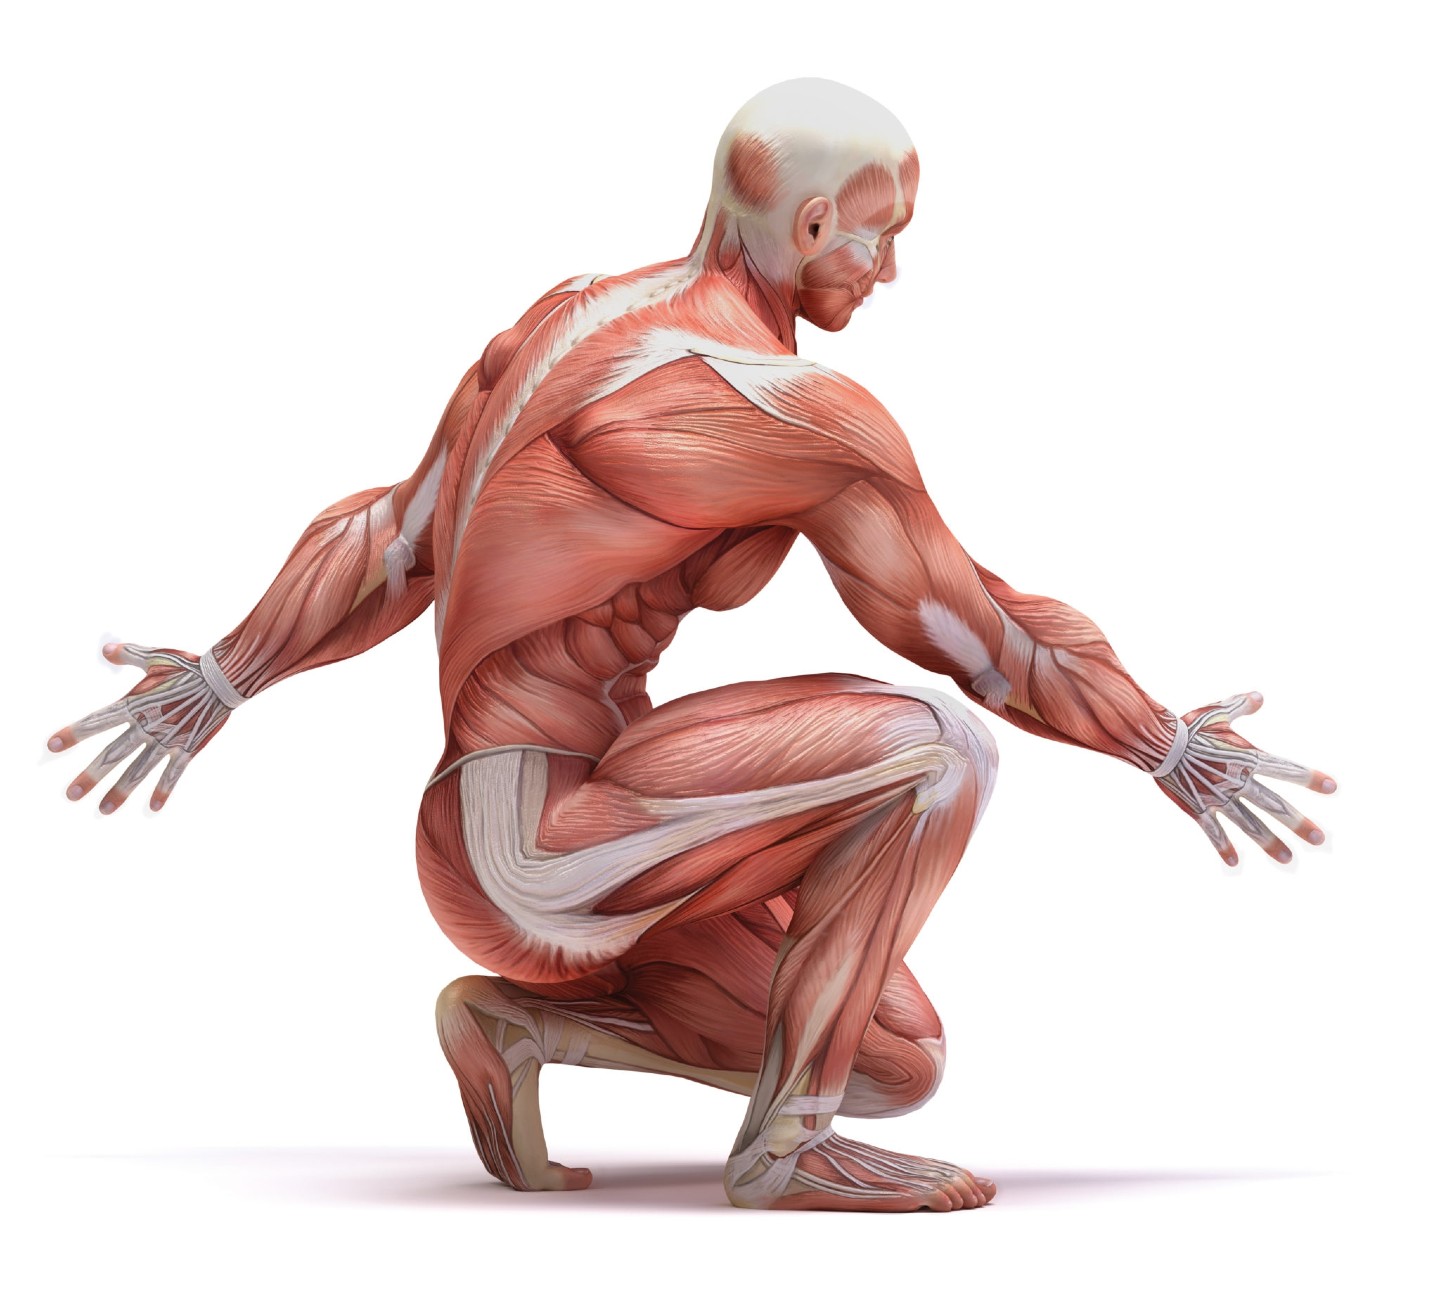
Muscles
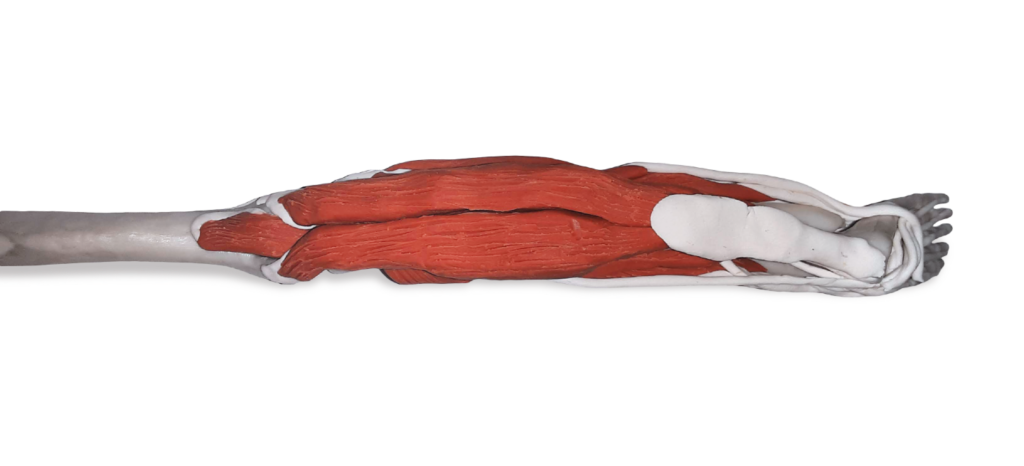
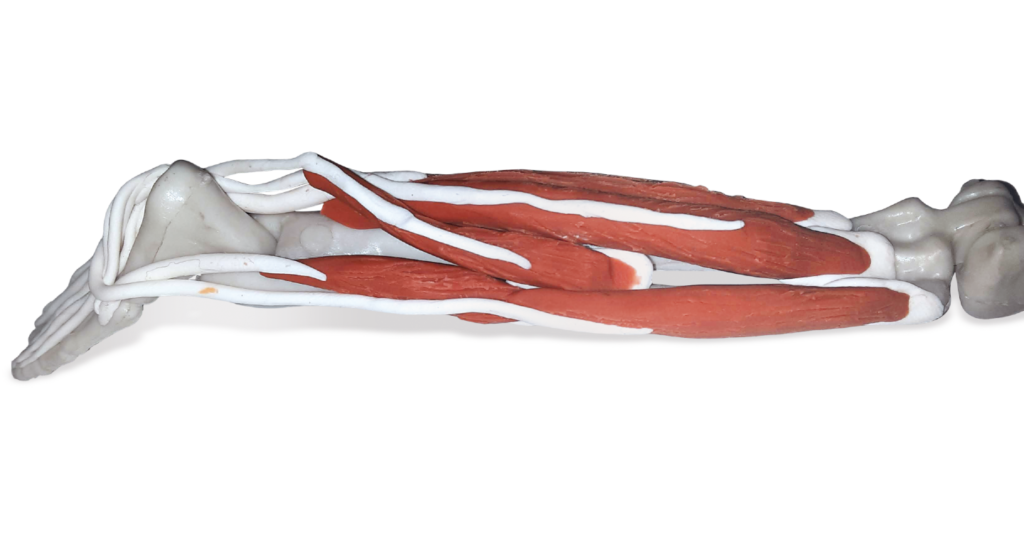
a. Flexor digitorum longus–thin at the top, origin on posterior surface of body of tibia; insertion on plantar surface-base of distal phalanges 2—5
b. Tibialis posterior–origin on tibia and fibula; insertion on navicular and median cuneiform bone
c. Flexor hallucis longus–origin about halfway down fibula; insertion on distal phalanx of hallux (big toe)

d. Fibularis brevis–origin halfway down fibula, below flexor hallucis longus; insertion on fifth metatarsal
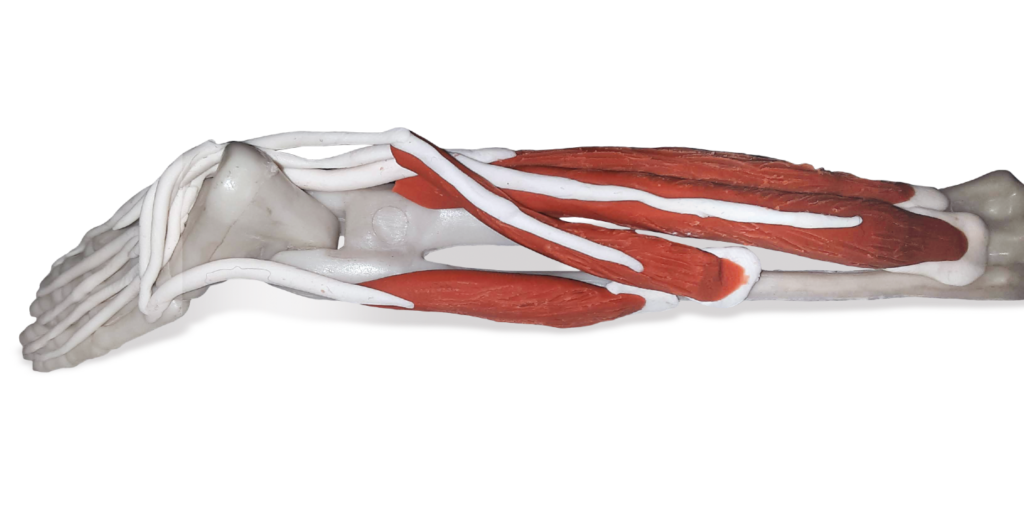
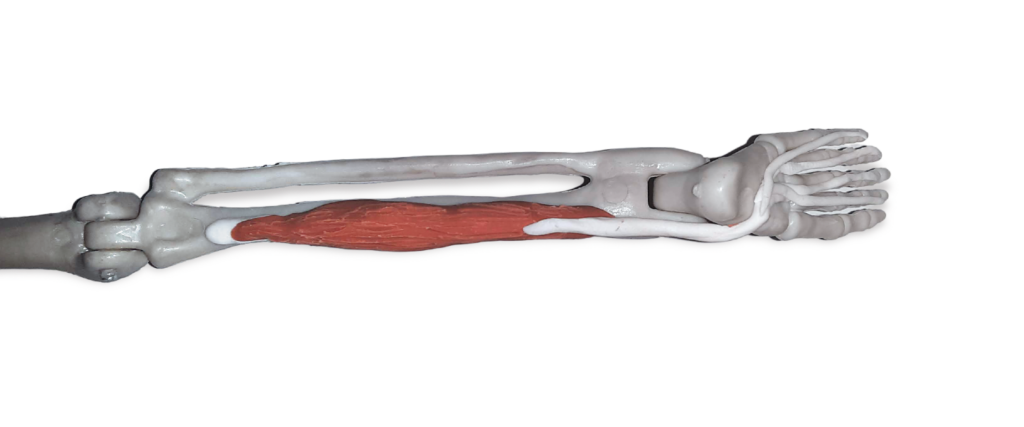
e. Fibularis longus–origin on head and upper two-thirds of lateral surface of fibula; insertion on lateral side of base of first metatarsal and lateral side of medial cuneiform
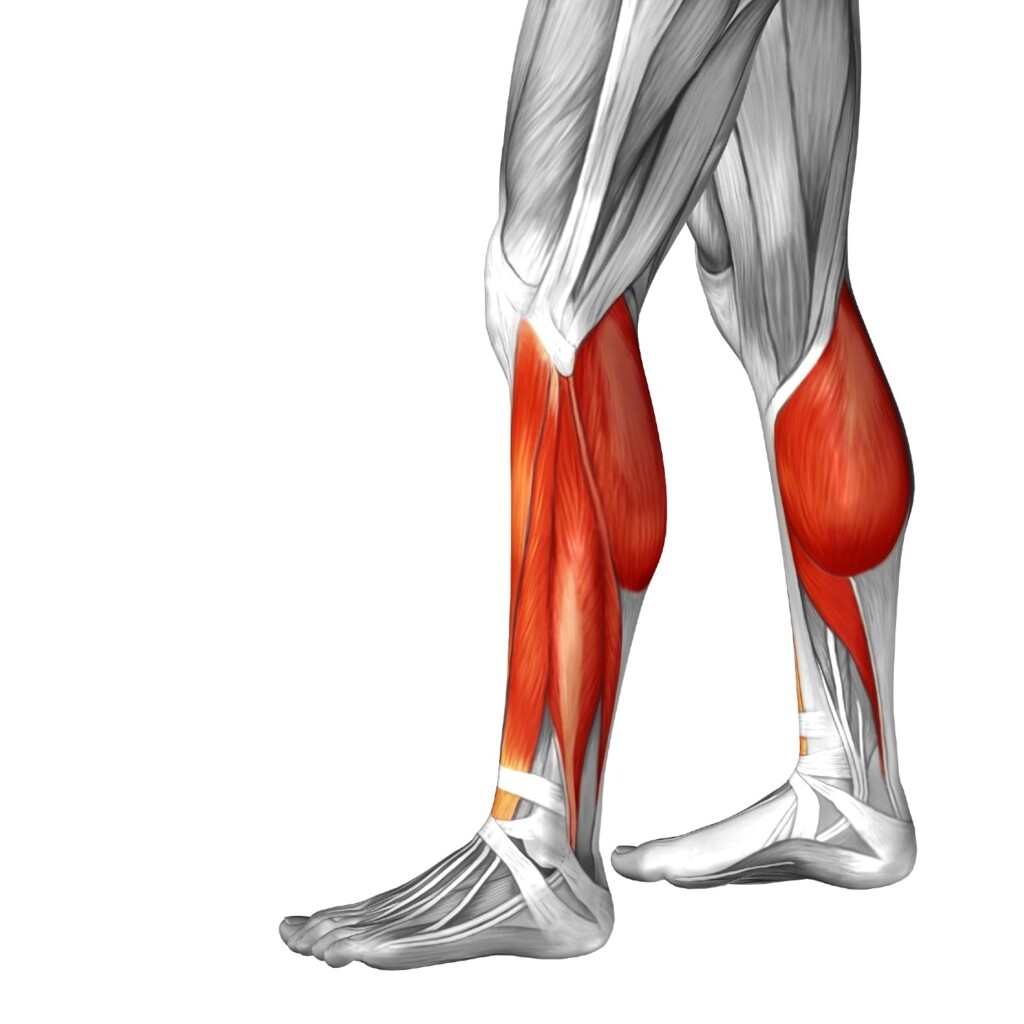
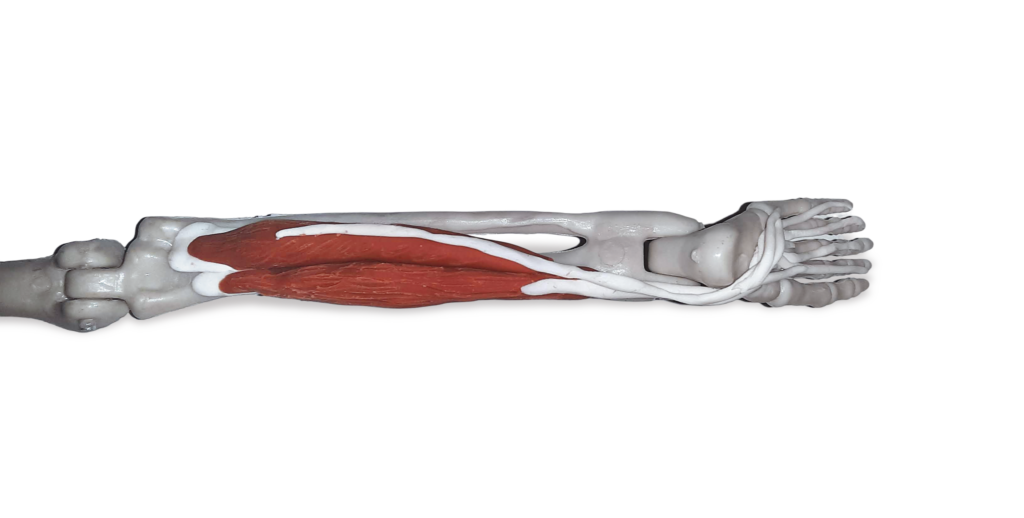
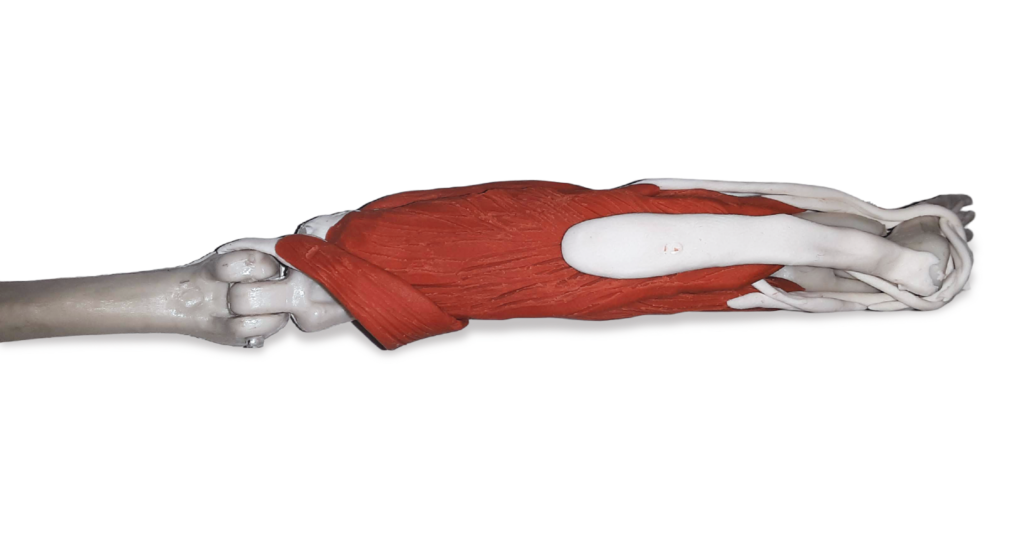
f. Soleus–origin on posterior head of fibula; insertion on calcaneus (heel bone), wide, covers back of leg

g. Popliteus–origin lateral epicondyle of femur; insertion on medial tibia
h. Plantaris–origin on lateral condyle of femur, above popliteus; insertion on medial calcaneus
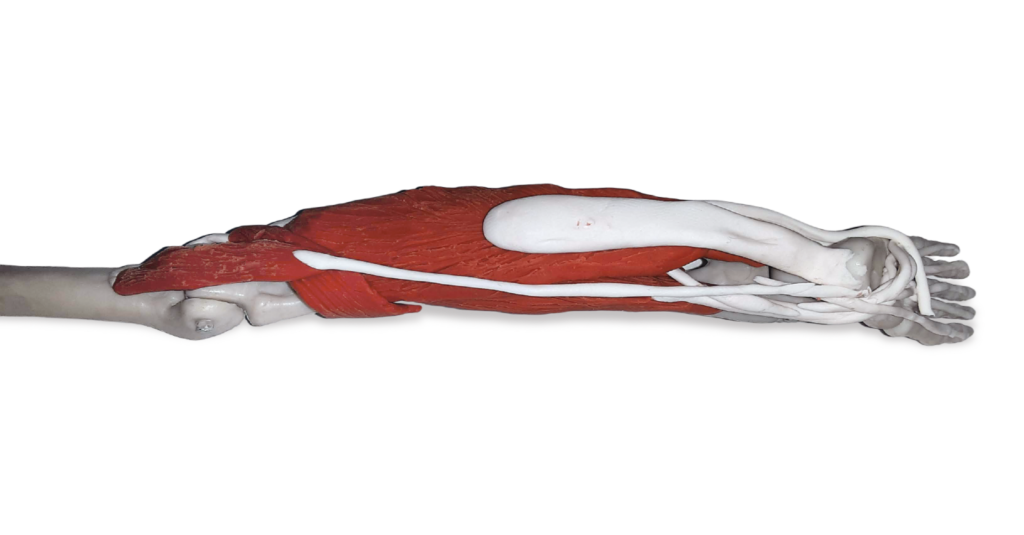
i. Gastrocnemius–origin on the two heads, lateral and medial condyle of femur; insertion on calcaneus