This activity gives students a better feel for light microscopy techniques, introducing two lighting techniques to increase understanding of the microscope and reveal hidden beauty in the microscopic world. Using black construction paper, students construct a “dark field condenser” that restricts the light path and the way scattered light interacts with the diatoms in the sample without affecting the field of view. With simple alterations, students turn a bright field microscope into a dark field microscope without altering the scope’s light source.
Using these two techniques, dark field illumination and Rheinberg illumination, and a light microscope, students explore and highlight the beautifully intricate features of unstained diatomaceous earth. If available, use a microscope with a digital camera attached. It allows students to generate and save examples of bright field imaging and dark field imaging.
Grades: 9–12
NGSS
- LS1.A: Structure and Function
- LS1.B: Growth and Development of Organisms
- LS4.C: Adaptation
- PS4.A: Wave Properties
- PS4.B: Electromagnetic Radiation
- PS4.C: Information Technologies and Instrumentation
Materials
- Black construction paper
- Colored permanent or transparency markers
- Compound microscope with a substage condenser and mechanical stage
- Coverslips
- Diatomaceous earth
- Glue or a glue stick
- Hole punch
- Microscope slides
- Transparency film
Student Background
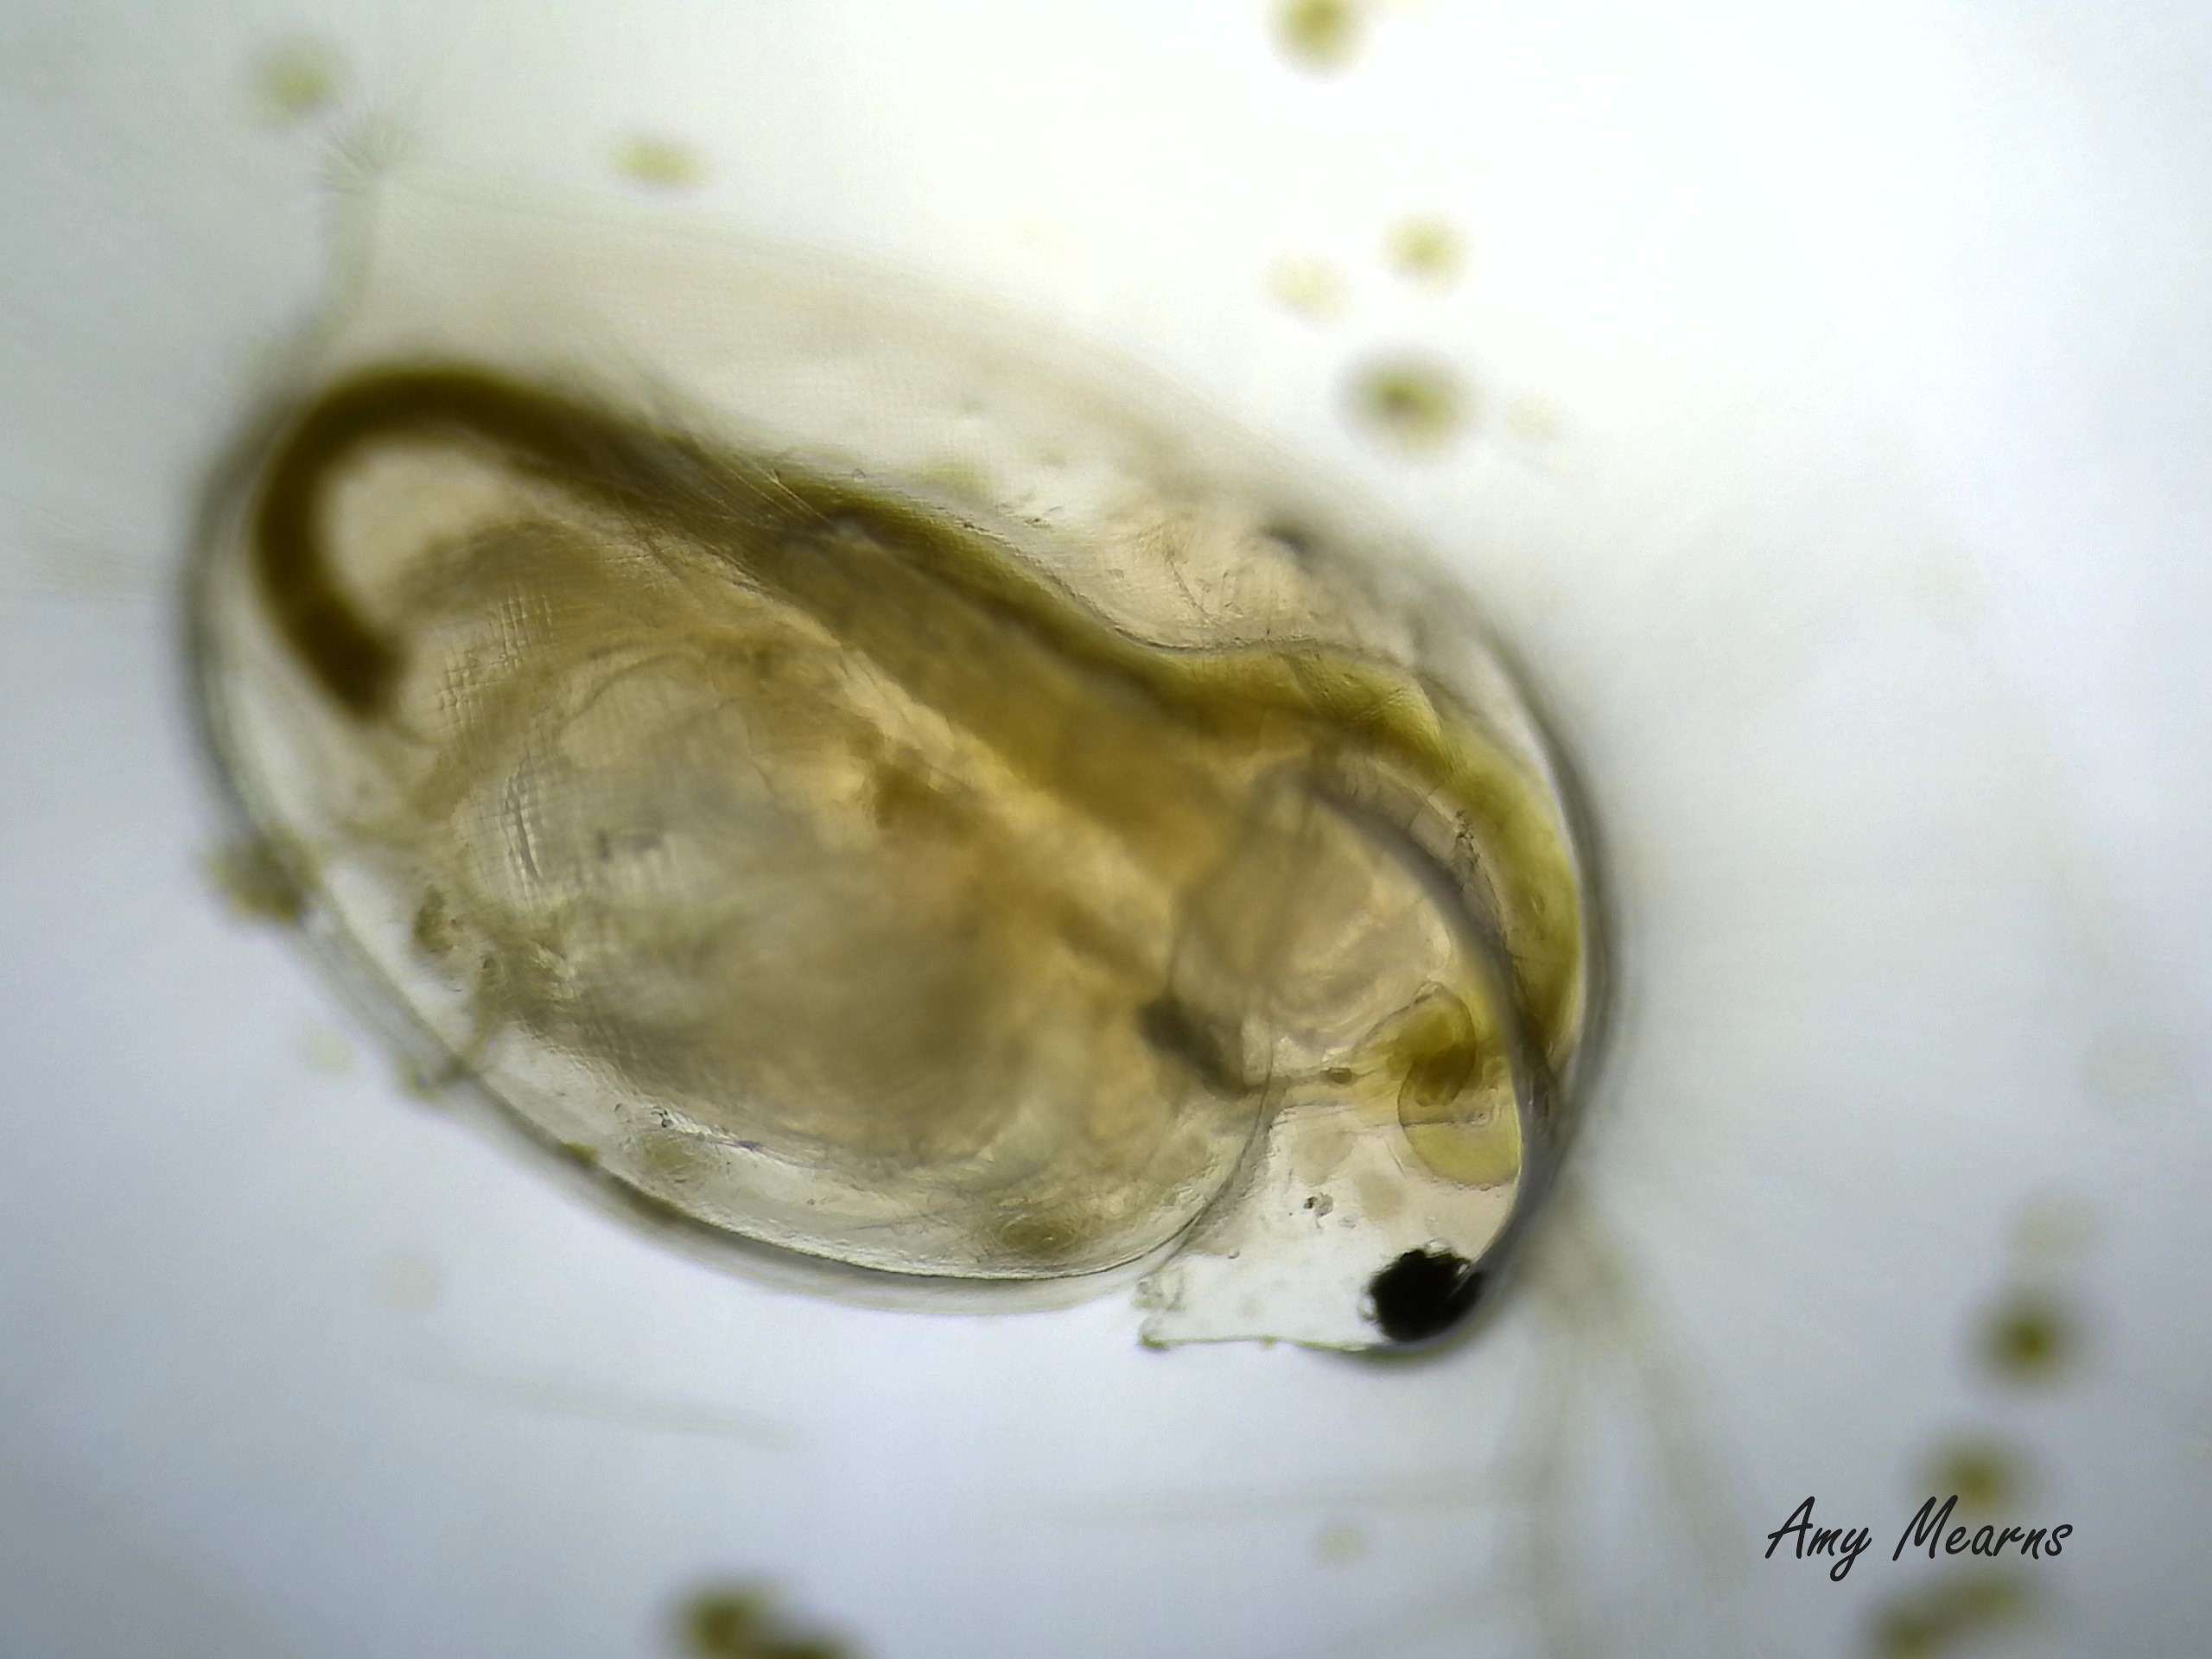
Bright field illumination, which uses direct light rays from the light source through the condenser of the microscope to produce a dark image against a white field (background), can obscure the internal details of some specimens, especially those that are translucent or nearly translucent. To get a better idea of how this works, try looking for dust motes suspended in the air in a well-lit room.
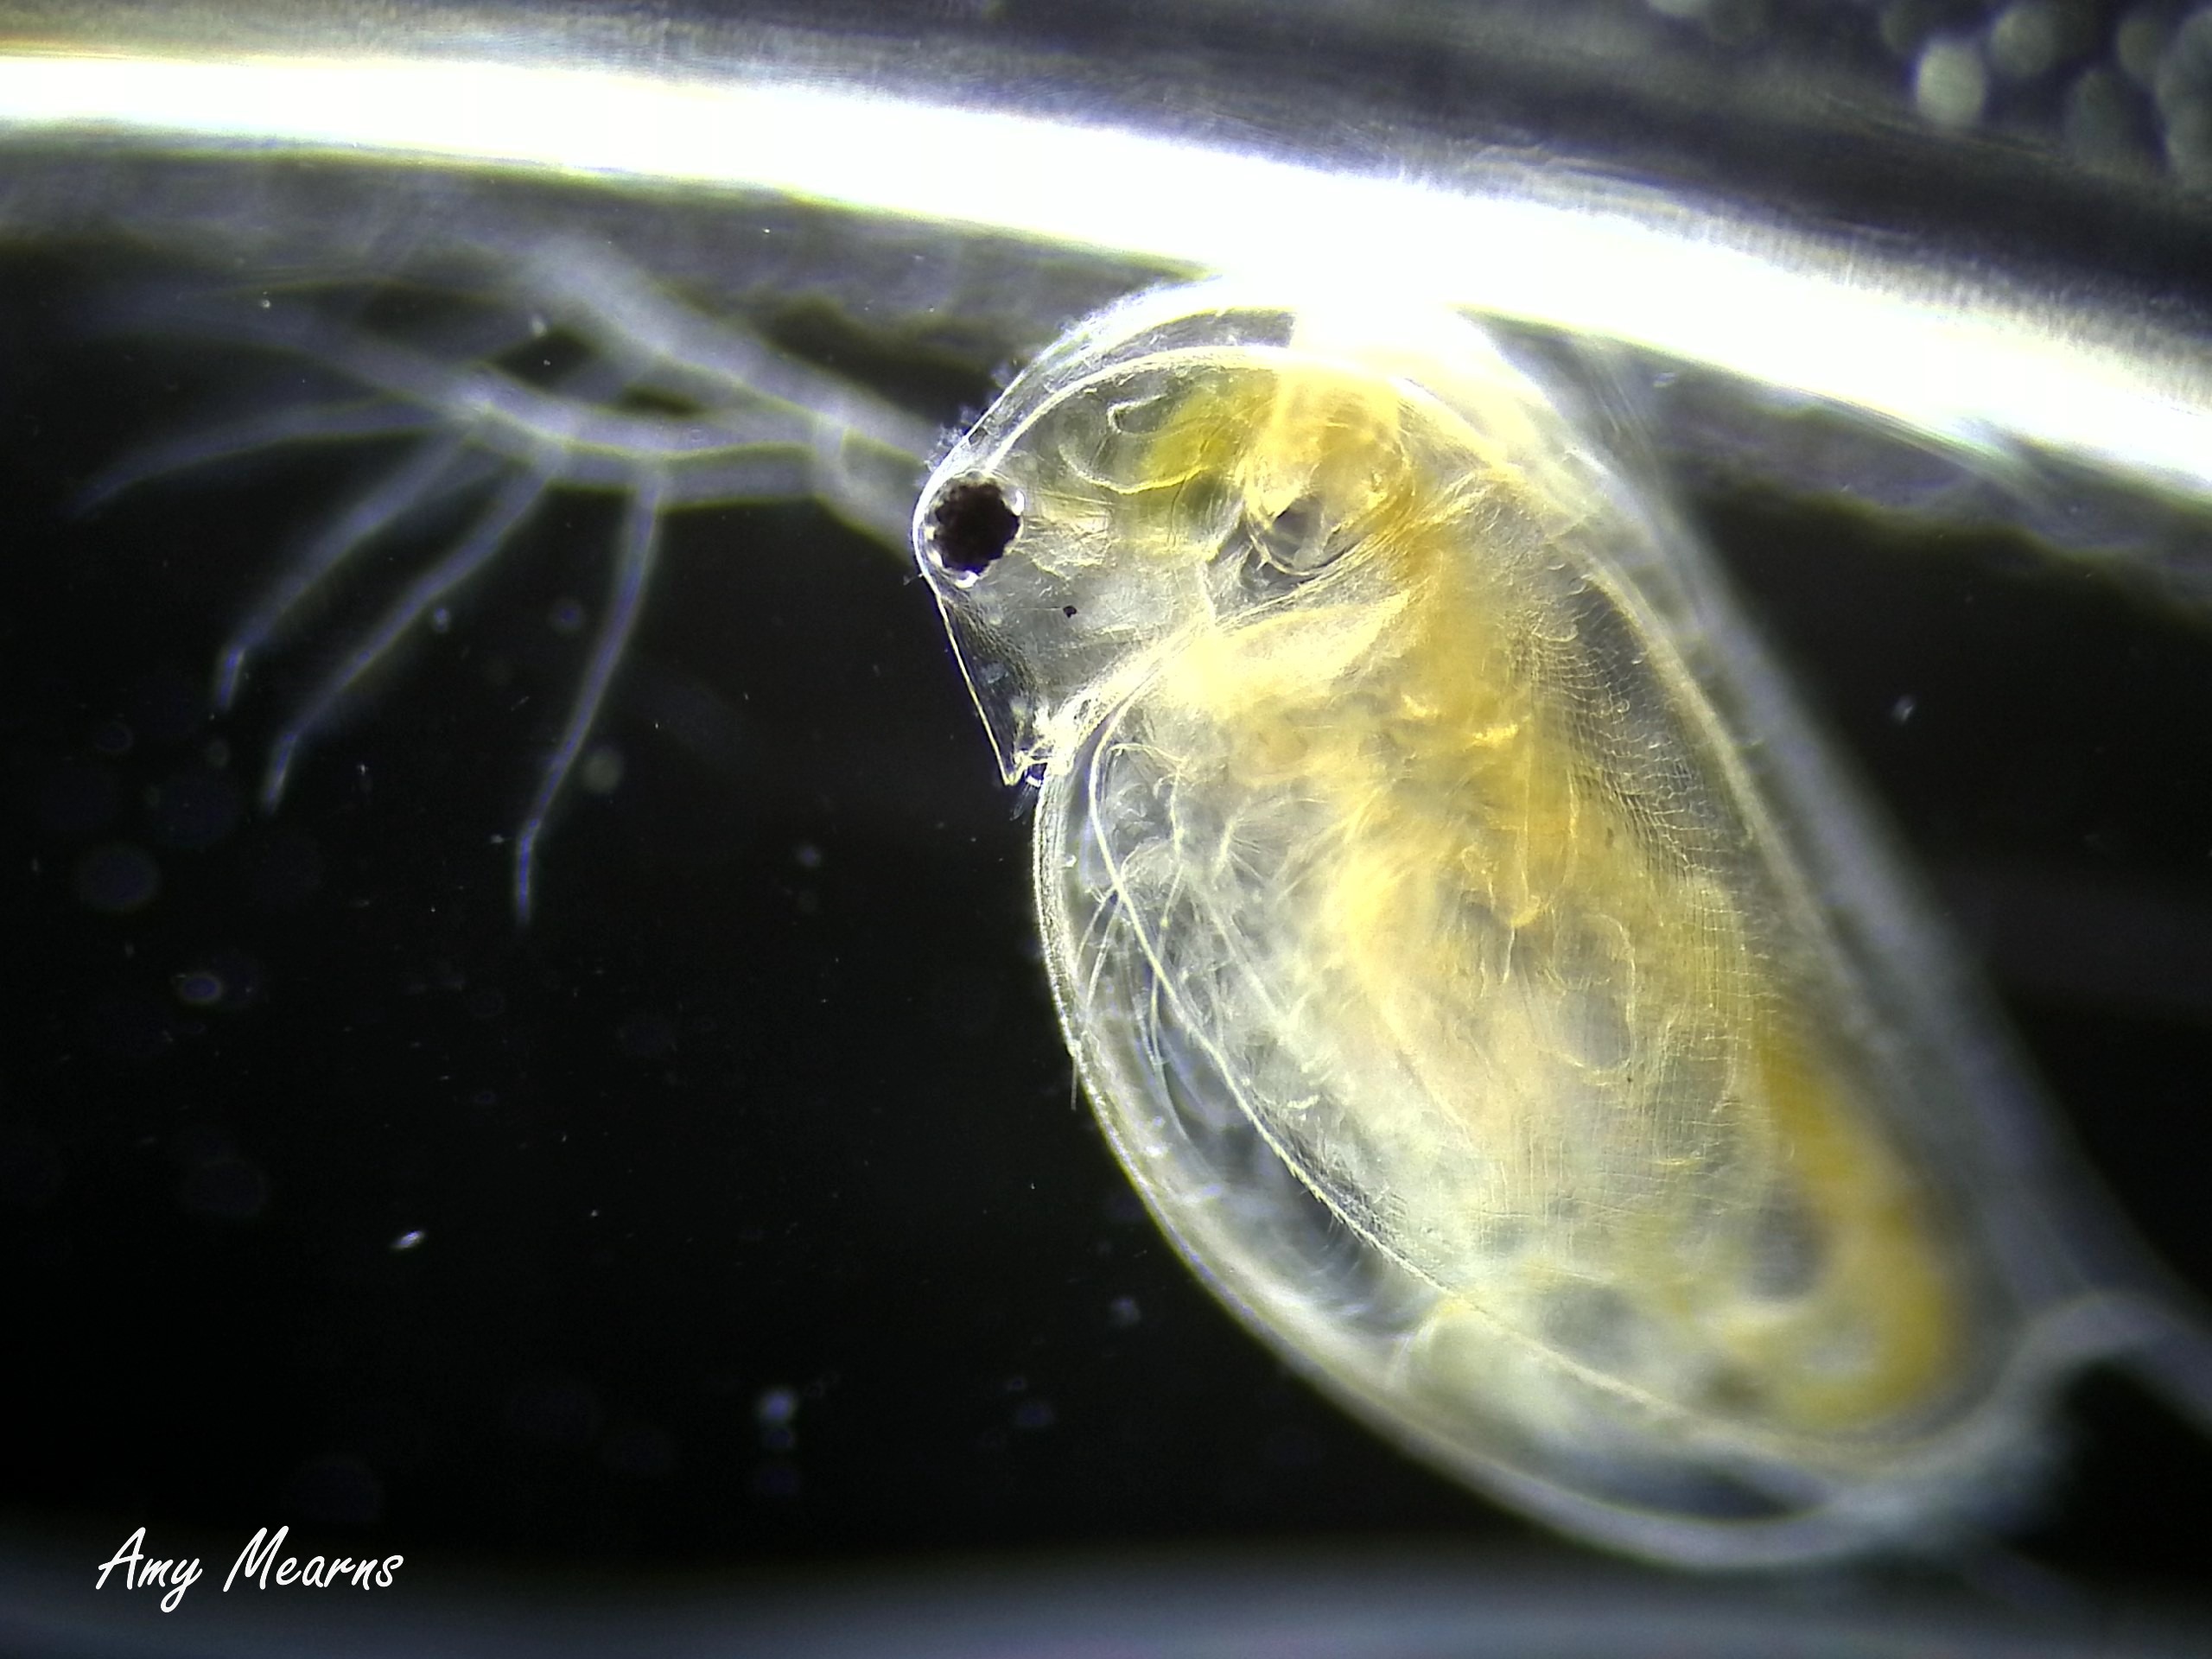
Now recall how easily they are seen in oblique illumination, like a shaft of light passing through a dark room such as that cast by a projector. In a dark room, you only see the light reflected or refracted by the dust motes, making them shine against the dark background. Dark field illumination works on the same principle. Direct light from the condenser of the microscope is blocked, and only the oblique light reflected or refracted by the specimen is seen. This results in a bright image against a black or dark field, a tremendous advantage when viewing translucent or nearly translucent specimens.
To create dark field illumination, an opaque circle called a patchstop is placed in the condenser of the microscope. The patchstop prevents direct light from reaching the objective lens of the microscope. The only light that does reach the lens is reflected or refracted by the specimen. For greater detail about this technique and example images, visit Florida State University’s Microscopy Primer website.
Rheinberg illumination can be considered a specialized type of dark field illumination. The difference between the two techniques is in Rheinberg illumination the patchstop consists of two concentric, differently colored circles. This produces an image in the color of the oblique illumination passing through the patchstop’s outer circle against a field the color of the light passing through the patchstop’s inner circle.
Rheinberg illumination can give dazzling color to the specimen and field and open lots of possibilities for experimentation. For example, a black patchstop with a colored outer circle can be used for a combination of dark field and Rheinberg illumination. Or try making the patchstop’s outer circle out of segments of different colors for fascinating effects. For more detail on this technique and example images, visit Florida State University’s Microscopy Primer website.
Preparation
- Check your microscope to make sure it has a condenser with a diaphragm and filter holder. The filter holder is an empty ring that swings out from under the diaphragm. If your microscope does not have a filter holder, you can still do the activity, but you will have to tape the patchstop to the underside of the condenser.
- You need to remove the eyepiece (or one of the eyepieces if there are two) from the microscope to measure and position the patchstop. Check to make sure that the eyepiece in your microscope can be easily removed. If it does not slide out easily, it may be held in place by a small screw.
Procedure
How to make a patchstop for dark field illumination
- Place your microscope in an appropriate work area.
- Select the low-power (low magnification) objective.
- Remove the eyepiece and place it somewhere clean and safe.
- Open the diaphragm as far as possible while looking through the opening left by the missing eyepiece. Now slowly close the diaphragm until it just impinges on the visible circle of light.
- Lean over or squat down so that you can see the diaphragm from below. The diameter of its opening is slightly smaller than the patchstop you will make.
- Use the hole punch to make several circles of black construction paper. Compare one to the size of the diaphragm’s opening. Cut the circle to about 10% larger than the opening.
- Cut out a square piece of transparency film measuring 5 cm on each side.
- Glue the circle of construction paper about 2 cm from one corner of the piece of transparency film.
- Label the film with the magnification of the objective. The patchstop is ready for use.
- Select the medium-power objective and repeat steps 4–9 to create a patchstop for it.
- Select the high-power objective and repeat steps 4–9 to create a patchstop for it only if it is not an oil-immersion type.
- Reinstall the microscope’s eyepiece.
- Sketch or use a digital camera to create one or more micrographs of the diatoms.
How to view a slide using dark field illumination
- Make a wet mount slide of diatomaceous earth and view it using the low-power objective.
- Select the patchstop for the low-power objective. Slide it between the filter holder and the rest of the condenser, starting at the corner with the black circle. Note: If your microscope does not have a filter holder, hold the patchstop beneath the condenser.
- Remove the eyepiece and set it somewhere clean and safe.
- Open the diaphragm completely and look through the opening left by the missing eyepiece. Adjust the patchstop until the light is completely blocked. Note: If your microscope does not have a condenser, you must secure the patchstop in place with tape once you have it properly adjusted.
- Reinstall the eyepiece.
- Use the coarse and fine focus knobs to focus the slide material and compare the image to the original.
- Switch to the medium-power objective. How does it affect the image?
- Repeat steps 1–6 with the same slide but using the medium- and high-power objectives and patchstops. Can you explain what you have observed?
- Sketch or use a digital camera to create one or more micrographs of the diatoms.
How to make a patch stop for Rheinberg illumination
- Cut out a square piece of transparency film measuring 5 cm on each side.
- Make a blue patchstop by tracing one of the black patchstops onto the new piece of transparency film using a blue marker. Make the blue circle as dark as possible.
- Use a red marker to add a red ring around the blue circle, being sure that the colors touch.
- Select the proper objective for the patchstop you have just made. For example, if you used the low-power black patchstop as your model, select the low-power objective. Note: As in dark field illumination, you need to make a unique patchstop for each objective you intend to use.
- Remove the eyepiece and position the blue patchstop so that only the blue is visible when you look through the opening left by the missing eyepiece.
- Reinstall the eyepiece and view the specimen.
- Experiment with different color combinations. For a more complex effect, try using segments of different colors in the patchstop’s outer ring.
- Sketch or use a digital camera to create one or more micrographs of the diatoms.
- Compare the microbe micrographs from all the illumination techniques used. What characteristics do they have in common? What specimen traits stand out in each type of imaging?
As your light microscopy skills increase, you may find other forms of microscopy fascinating, like fluorescent microscopy, used in microbiology and cellular research, or electron microscopy, used to examine samples at the atomic scale. All types of microscopies—light microscopy, fluorescence microscopy, and electron microscopy—allow us to delve into the unseen world around us.