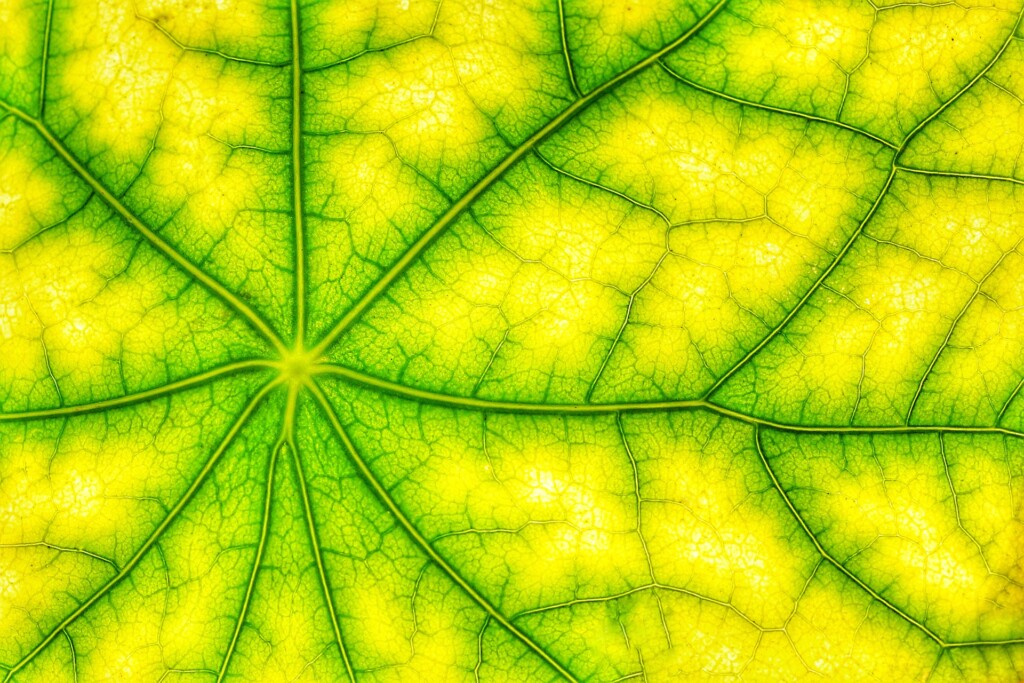
If you have never tried the leaf disk assay, you are missing out on one of the best photosynthesis labs available. Here’s how to do it. The equipment and supplies needed are inexpensive, simple, and readily available.
Materials
- Syringes, 5 cc or Larger
- Desk Lamps with 18- to 23-W Fluorescent or LED Bulbs
- Plastic Straws (all of the same diameter or hole punch)
- Beakers or Clear Plastic Cups (in the 100- to 250-mL size range)
- Sodium Bicarbonate or Baking Soda
- Concentrated Dishwashing Detergent
- Fresh Plant Leaves (bagged spinach is traditional, but Wisconsin Fast Plants® leaves or leaves of radish seedlings work equally well, and almost any leaf with a smooth, as opposed to a hairy, surface works)
Preparation
Test the syringes by sealing the tip and pulling back on the plunger. When released, the plunger should snap back, indicating a good vacuum.
Add 1 drop of concentrated liquid dishwashing detergent and 1 gram of sodium bicarbonate to 1 gallon of water. The exact amounts are not critical. Detergent reduces the surface tension of the water, and the bicarbonate is a CO2 source.
For each team of students, fill a beaker or cup about ¾ full with the detergent and sodium bicarbonate solutions.
Procedure
Remove the plunger from a syringe. Use a straw or hole punch to punch out disks from the leaves. The disks should be as uniform in size and mass as possible. Avoid the larger veins of the leaves. As you punch out the leaf disks, put them into the syringe. Continue until you have 12 disks. The exact number is not critical, but it is best to use an even number.
Tap the side of the syringe so that the disks are at the bottom, and then reinsert the plunger–being careful not to crush the leaf disks.
Insert the tip of the syringe into the beaker of water and draw at least 2 or 3 cc’s of water into the syringe. Tap the syringe to dislodge disks that are stuck to the sides. There may be a couple of disks that you simply cannot dislodge.
Hold the syringe vertically, with the tip pointed upwards, and push in the plunger to expel the trapped air.
Close the tip of the syringe with your finger and pull on the plunger to create a vacuum. The vacuum removes gas from the leaf tissues. Hold the plunger in place for 10 seconds and release it. When you release the plunger, liquid infiltrates the tissue. Repeat this 3 times. As liquid infiltrates the leaf tissues, the density of the disks increases, and they begin to sink. You may have 1 or 2 disks that adhere to the wall of the syringe and do not sink. Don’t worry about these.
You can use the syringe as the reaction chamber, but there are advantages to transferring the disks from the syringe to the beaker. The disks are easier to count in the beaker, and there is more room for them to spread out rather than being piled on top of each other. The disks that adhere to the sides of the syringe usually sink in the beaker.
Set up the lamp next to the beaker and adjust the distance to 15 cm. Again, the exact distance is not critical, but it should be the same for all student groups unless they are testing to see if the distance from the light to the disks influences the rate of photosynthesis.
Turn on the light and record the time. As oxygen is produced by photosynthesis, it comes out of solution and infiltrates the leaf tissue, replacing some of the water. This decreases the density of the disks, and they begin to float. The number of disks that float per unit of time gives a measure of the rate of photosynthesis. Students can also use the time needed to float half of the disks for their measurement. (This is the reason it’s best to have an even number of disks.)
Additional activities
This system is great for stimulating student projects. Inquisitive minds can come up with many additional projects. For example, the Yellow-Green Leaf mutation of Fast Plants® reduces the amount of chlorophyll in the leaf. Would this also reduce the rate of photosynthesis as compared to the Standard plant?
What about variegated coleus? Do areas of the leaf with chlorophyll outperform areas that lack chlorophyll?
Is the rate of photosynthesis constant in Fast Plants® or does it vary according to the stage of the life cycle?
Related Items
About The Author
Carolina Staff
Carolina is teamed with teachers and continually provides valuable resources–articles, activities, and how-to videos–to help teachers in their classroom.


