


8-12 Middle/High School
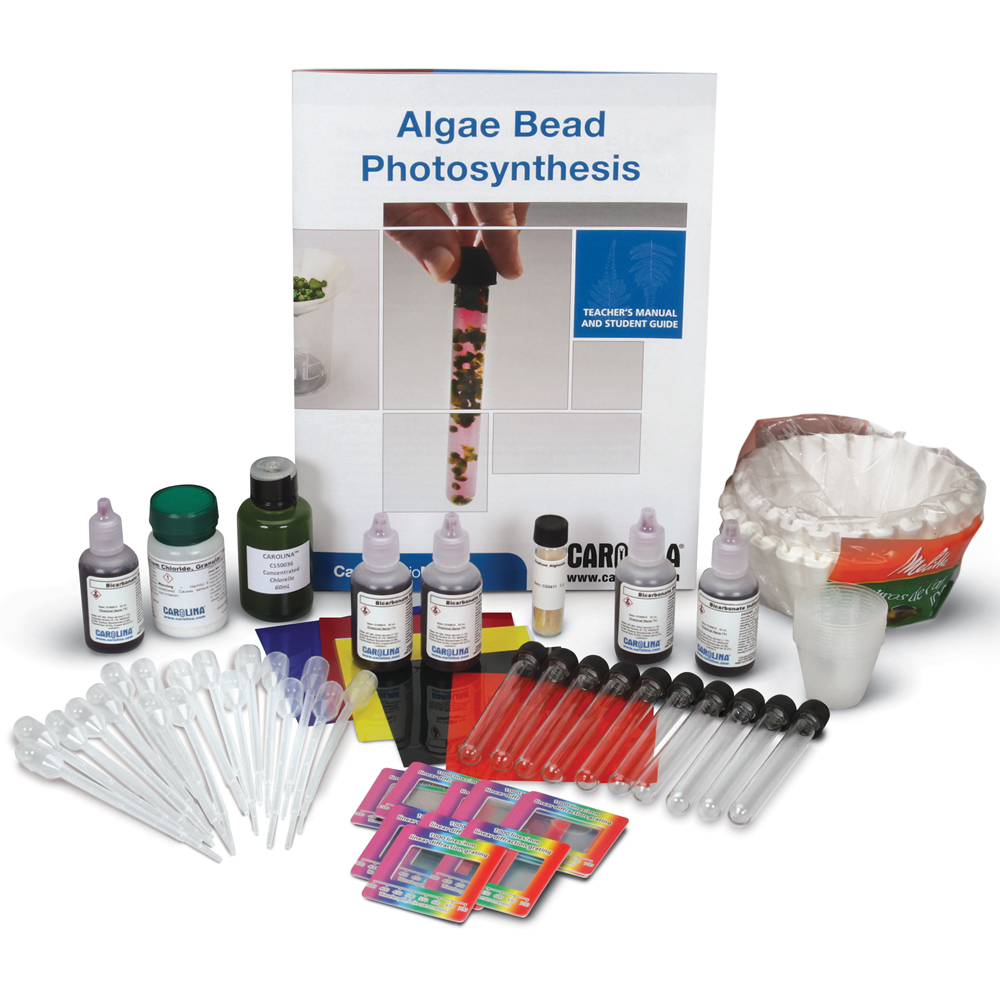
Students are introduced to photosynthesis in a hands-on activity with fresh water algae. By creating algae beads (made of algae and sodium alginate solution), they indirectly observe the change in concentration of oxygen in algae beads that are exposed to different amounts of light. Students make qualitative and quantitative observations of the algae culture tubes for a period of 4 days. Students develop a model of photosynthesis as oxygen is trapped in the algae beads, changing the density of the beads and causing them to rise to the surface.
How does photosynthesis transform light energy into stored chemical energy?
Wash contents down a lab sink/drain using plenty of water. Dispose of any waste in accordance with local regulations. Apron, safety gloves and goggles are required.
Use a highly concentrated algae culture that appears dark green. If beginning with a non-concentrated culture, allow it to grow for 3 to 4 weeks under constant lighting to achieve desired population density. It should appear dark green prior to use. The algae beads can be stored in the distilled water and refrigerated for approximately 2 weeks.
| Observations> | Not Wrapped (color, position in tube) | Wrapped (color, position in tube) |
|---|---|---|
| Day 1 | Algae is dark green and beads are spread throughout. | Same |
| Day 2 | Algae beads are still green. Some are beginning to rise. | Few if any rise. |
| Day 3 | Most algae beads are now at the surface. | Few if any rise. |
| Day 4 | All of the beads are at the surface. | Few if any rise. |
Explain the differences in results between the covered and uncover tubes.
The uncovered tube has the light necessary to photosynthesize, but the covered one does not.
What causes the algae beads to float to the surface?
The build-up of oxygen trapped inside the beads.

The oxygen gas produced during photosynthesis in the unwrapped tube is trapped in the algae beads. As oxygen gas builds up, the density of a bead decreases, allowing the bead to float to the surface. Algae beads do not come to the surface in the wrapped tube because without light, the algae cannot photosynthesize.
Students learn how to make their own algae beads and get hands-on experience developing a model and testing a hypothesis.
Developing and Using Models
LS1.C: Organization for Matter and Energy Flow in Organisms
Energy and Matter
Cause and Effect
We are committed to providing the lab kits, instructional materials, and often free activities and supporting digital resources that do as much heavy lifting for you as we can.

*Next Generation Science Standards® is a registered trademark of Achieve. Neither Achieve nor the lead states and partners that developed the Next Generation Science Standards were involved in the production of this product, and do not endorse it.
Get the latest news, free activities, teacher tips, product info, and more delivered to your inbox.